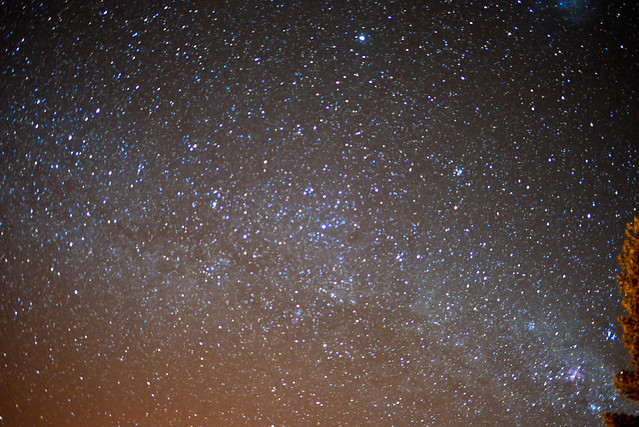
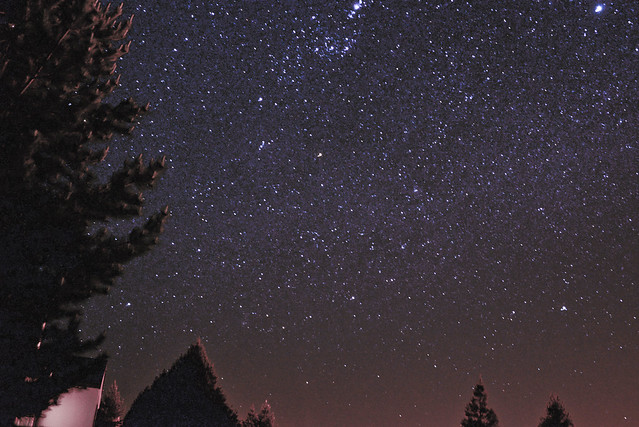
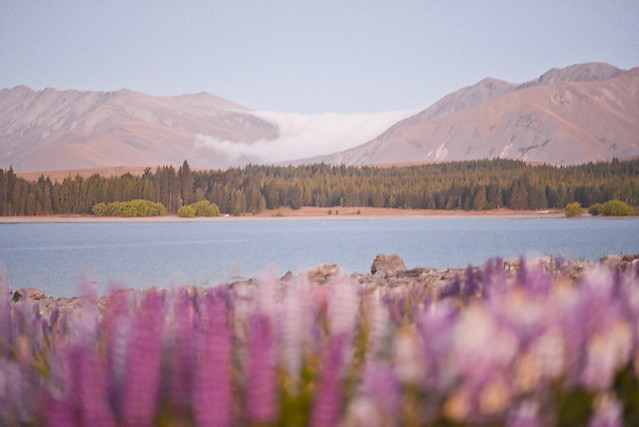
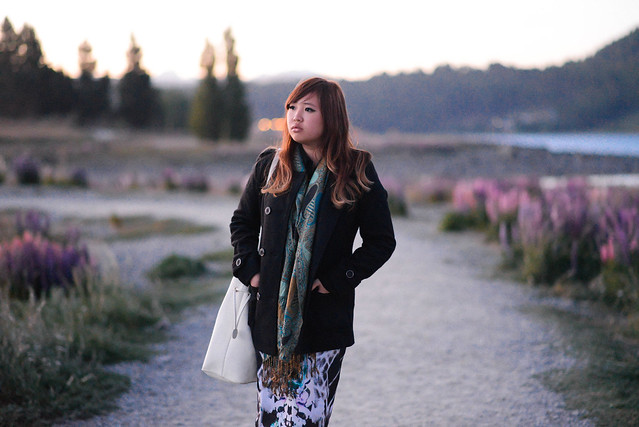
Frozen fingers, frozen toes. Some necessary sacrifices involved in taking the pictures you see above – pictures I’m incredibly proud of, given that I’m no professional photographer. I’m just a girl with a tripod. When we hit the gorgeous Twizel / Mckenzie region in New Zealand famous for it’s star littered skies, I knew I had to immortalize it in film somehow – but I’ve never been able to capture stars before despite trying so many times in Europe, even missing out on photographing the first meteor shower of the season we caught in Ponza. What a pity – but never again. I borrowed a tripod and googled my way through it, and here’s my first ever successful attempt at starscape photography with a simple How-To guide on things that have worked for me I’ve compiled – I hope it’s helpful to you too!
What you need:
1 x DSLR (Your normal cameras just won’t cut it, much less your iPhone. Believe me, I tried.)
1 x Tripod (ABSOLUTELY necessary)
A fully charged battery/ extra batteries (Because you leave your camera trying hard to focus all night long, it drains batteries insanely fast.)
A whole lot of patience.
I was shooting on the Nikon D610, which is a fantastic full frame camera with great battery life and two memory card slots (perfect for me since I tend to shoot a lot and filter them later), and the NIKKOR 35mm and 85mm f1.8 lenses. The 85mm takes better photos on a day to day basis, but it’s very close up and I wanted more area covered in my pictures, so I found that for this purpose the 35mm worked better.
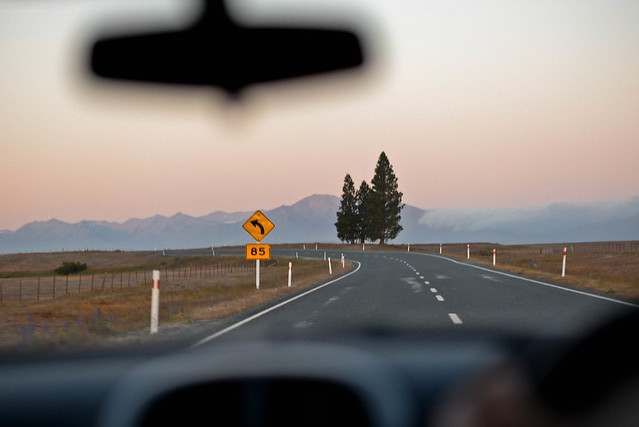
So we drove up to a beautiful countryside area, I set up my tripod and angled my camera, and started the long waiting game.
Here are the settings I used:
1. Switch your camera to manual mode.
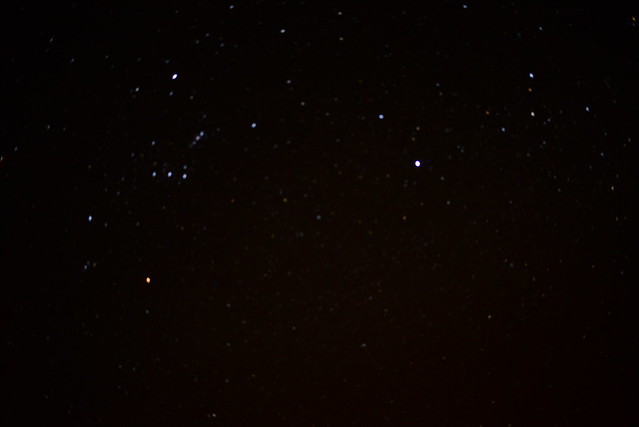
2. Turn the focusing ring on your lens to infinity (This solved the focusing problem I had, before this all my stars were just unfocused speckles of light.)
3. Set your shutter speed to 30”. Thirty seconds. That’s how long your shutter has to stay open – which explains the need for a tripod, because any handshake will instantly blur your picture.
4. Set your Aperture to f/1.8 or f/2.8.
5. Set your ISO anywhere from 2,000 to 3,000. 2,500 was the magic number for me.
6. Frame your picture while it’s still bright.
7. Wait for it to get dark.
Another option, which is easier and much quicker, is to change your shutter speed to Bulb. This makes the pictures snap real fast and capture a couple of brighter stars. However, I find that this just doesn’t do the night sky justice, and after traveling halfway across the globe for the perfect setting, it’s time to either go big or go home.
Some people suggest using a wireless remote shutter to trigger your camera because it reduces the risk of handshake when you press the button. I didn’t have one so I don’t know how big a difference it makes, but i was just really careful when taking the picture and it worked out fine for me.
1. Make sure your framing is more or less accurate by peeking through the viewfinder.
2. Switch to live view.
3. Try to focus on a faraway bright star, or a tree, or something. This reduces the risk of blurring.
4. Fire the shutter.
I lay next to my tripod for about two hours in the seven degree night, shivering and determined to get the incredible night sky that was Twizel. A lot of my pictures turned out blur – I think it’s inevitable for a first timer, but after a bit of trial and error I did get my money shot, which I’m incredibly proud of!
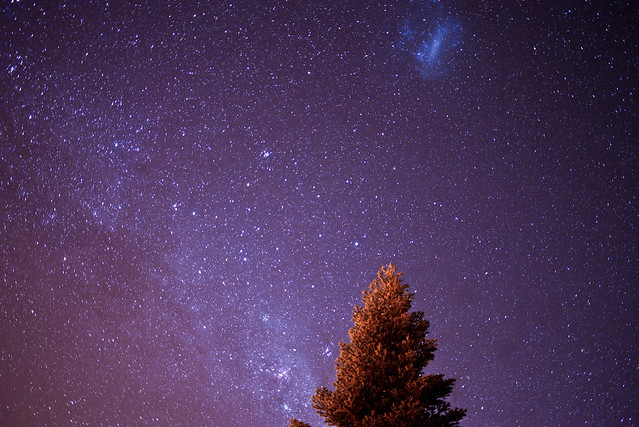
This picture was also later picked up and featured on A Beautiful Mess Official.
Worth it? You bet.
I’m just so incredibly proud of these pictures, even more so because I’m such an amateur at these things. It just made me happier when I saw the pictures taken on the camera again because the DSLR is powerful enough to pick up details and colors that the naked eye just can’t detect – like that incredible color shading and vague nebulas in the distance! The gorgeous night sky, now more than a memory, can be shared with everyone I know – I sent the pictures to some of my friends back home and everyone was suitably dazzled.
I hope this was helpful to any of you out there aspiring to point your cameras heavenwards – otherwise, I hope you enjoyed the starscape as much as I did. Thank you for being so breathtaking, Twizel. x

X
♥jem
*This post is written as part of a series of travel photography articles for Nikon Singapore and originally appeared on Nikon.com. Hop over to Nikon Singapore for more!