Hello my lieblings lesers,
As we all know and rightfully agree, hair is every girl’s crowning glory. I myself devout way too much time and energy keeping it sleek and presentable to the general public – and I adore coloring my hair to suit the seasons. If you’re into ombre or other fancy hair trends that require bleaching, I’d always recommend visiting a trusted salon to get it done for you. However, what if you’re keen on a chic, single color ‘do to update your look? The answer is sitting in the beauty department of a drugstore near you..
Box dyes are getting increasingly popular for their price point and convenience, and they’re known to do a pretty good job as well. For all the budget conscious chicks out there, this guide to DIY hair dying is for you x
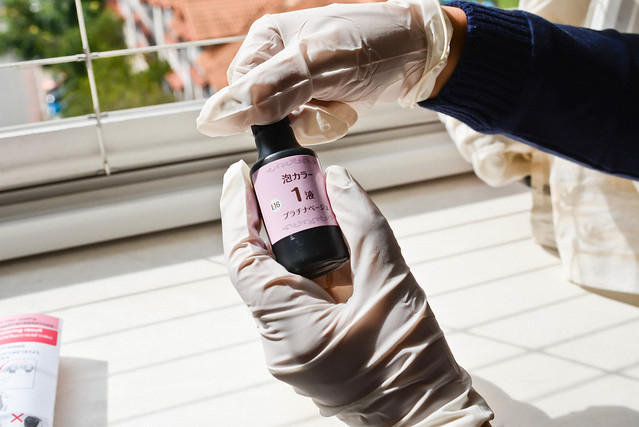
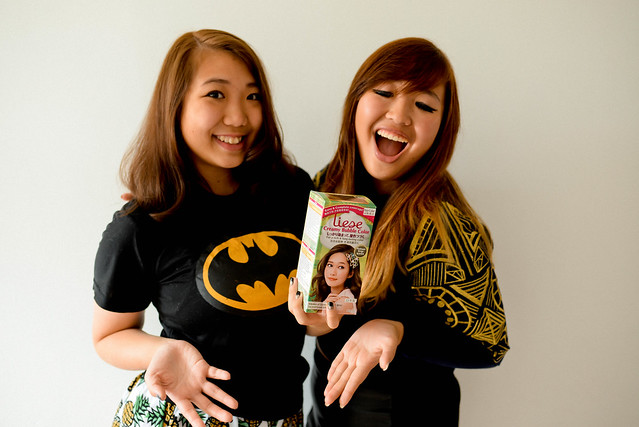
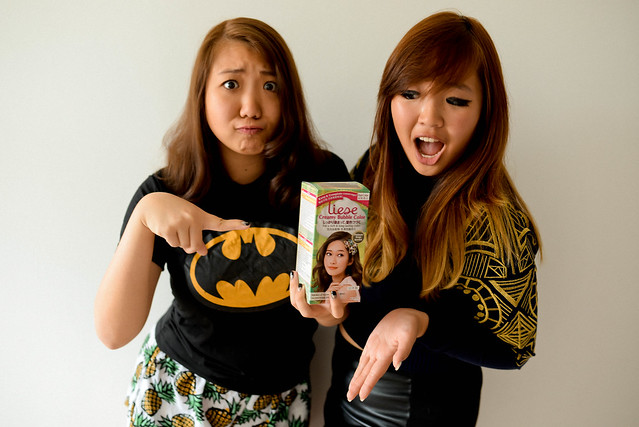
Today we’re using the KAO Liese Creamy Bubble Color in Platinum Beige as recommended by the good folk at Liese, because everyone knows the Japanese have the best hair. This is not to be confused with the original Liese Bubble Hair Color – this new and improved version is creamier, and ergo, more effective!

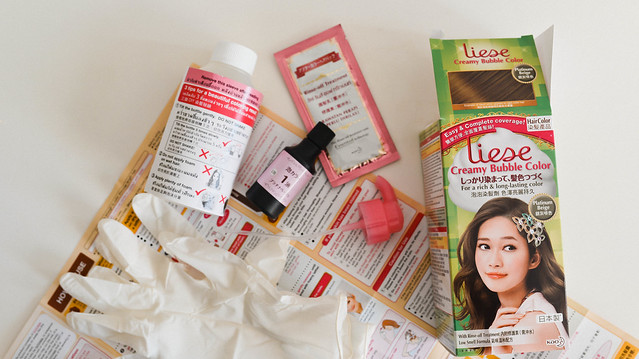
A quick look inside the box.
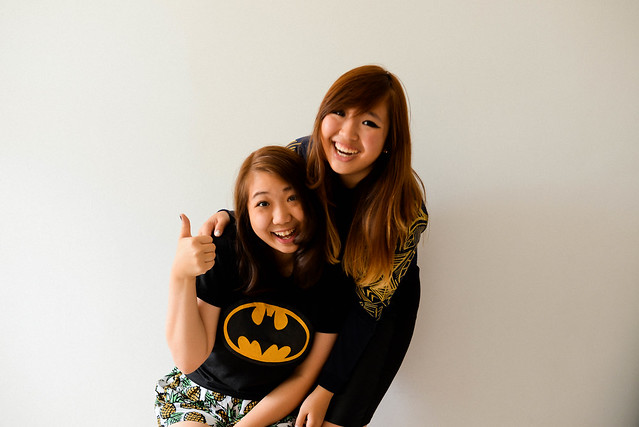
I can’t use my own hair as an example because it’s bleached to death and the color will turn out drastically different from when applied on someone with virgin hair, so I’ve decided to bring my sister on board to show you guys what the color looks like when done on someone with unbleached hair!

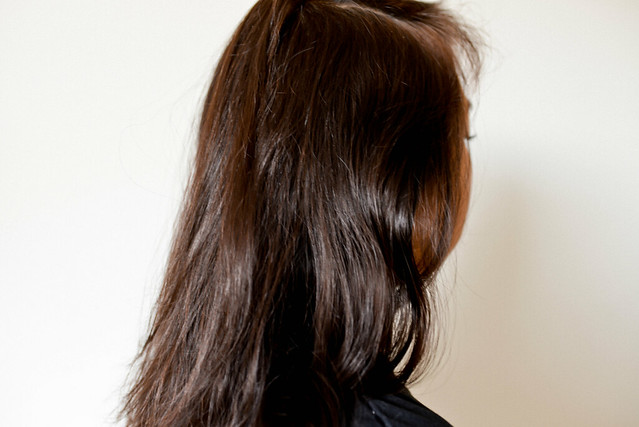
Her original hair color here is actually also the result of another Liese bubble dye, done much earlier on.
Okay? Okay. Lets get started!
GUIDE TO: DIY FABULOUS HAIR
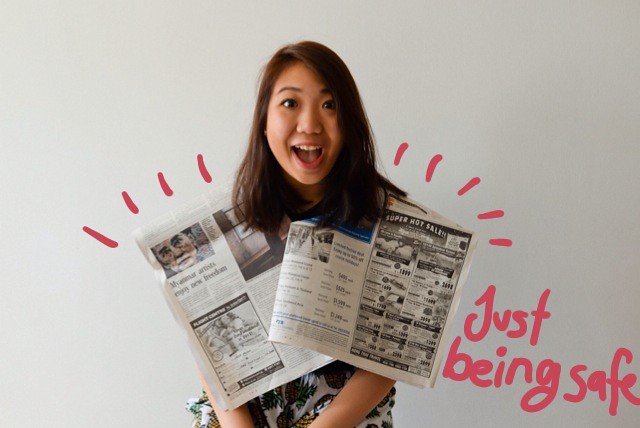
1. Secure your surroundings
Nothing is more annoying than shaking out your newly gorgeous manes to realize that you’ve stained your top or floor… or both. Fortunately for us, this particular improved formula is non-drip and four times more ‘sticky’, so there’s little risk of it dripping on the floor. Very little pre-prep is needed. If you’re using another brand, I can make no such guarantees for you, so it’s best you secure your surroundings before you begin by scattering newspaper on the floor around your workspace, and wearing a dark colored top.
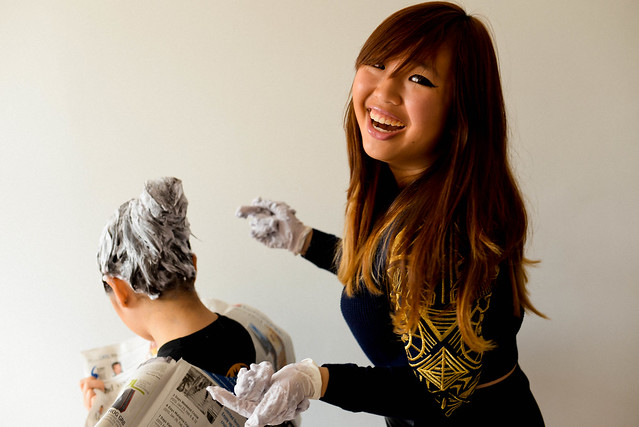
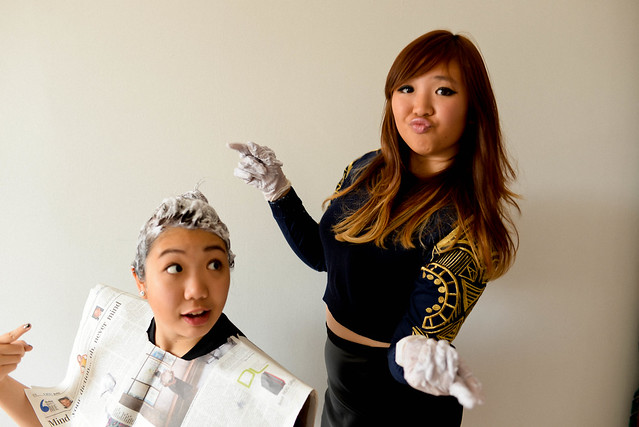
What we did, was to simply create a newspaper bib for extra precaution, because, you know, my sister is a baby.
2. Prepare the solution
There’s a handy little instruction sheet inside the box, but let me detail it out for you anyway.
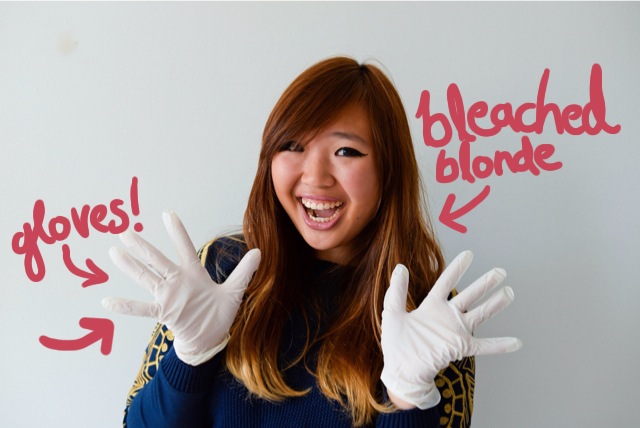
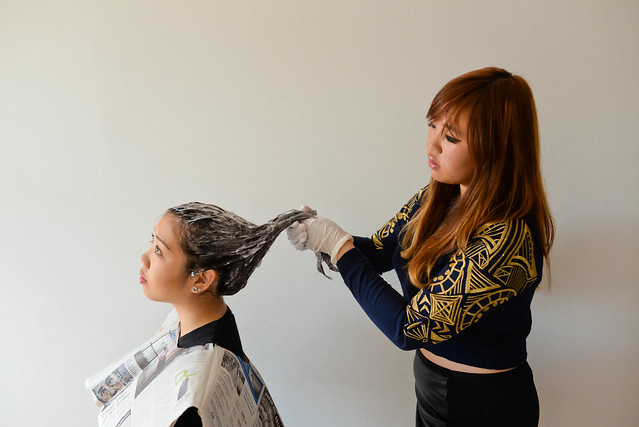
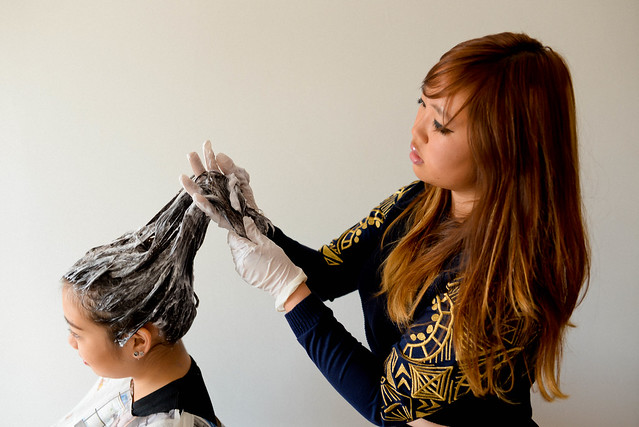
Wear the gloves that come in the box. You can actually dye your own hair, thus the name D-I-Y, but I will be Keziah’s hairdresser de plume and the person donning the gloves, just so I can get in on the action. The creaminess of the foam makes it so similar to a thicker version of shampoo that it’s actually pretty easy to just do it yourself even for hard to reach areas at the back of your head, so don’t worry if you don’t have a busybody like me hanging around itching to try out the lathering.
Pour the little bottle’s contents into the big bottle, and turn it upside down five times (not too vigorously! Just turning it up and down will do.) Shaking it will compromise the foam quality so don’t do that.
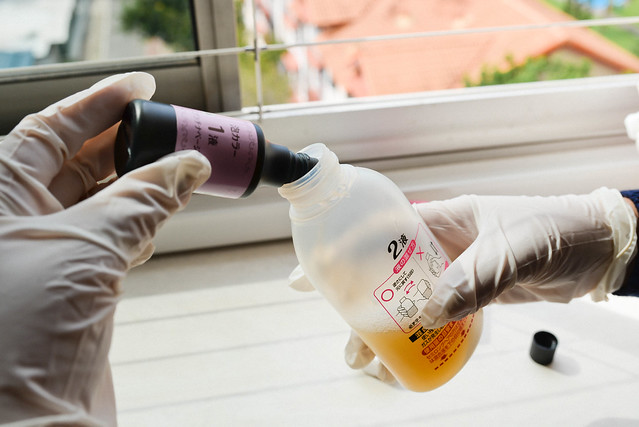

After you are done, unscrew the cap and replace it with the squeeze bottle cap like this.

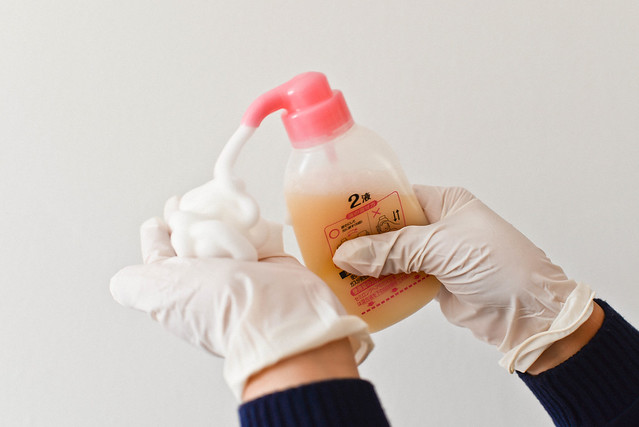
Right, that was easy enough! Now, despite the mixture still being very much a liquid, you can magically create foam when you squeeze it out. Magic!
Remember how I mentioned that Keziah had dyed her hair with Liese’s bubble dye before? I asked her how this new creamy formula compared to that, and she said it was less soapy and more foamy, with better lathering. It’s actually so dense that it reminds me a little of the top of your cappuccino foam, the type that doesn’t drip even when you scoop it out and turn the spoon over.
Again, *magic*!
3. Apply the foam generously onto hair.
If the hair is shoulder length, as featured here, one box is enough. If it’s much longer, maybe two. Your call. We only used one box here.
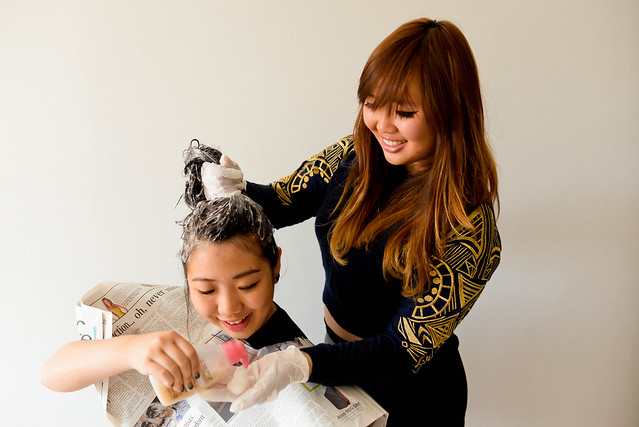
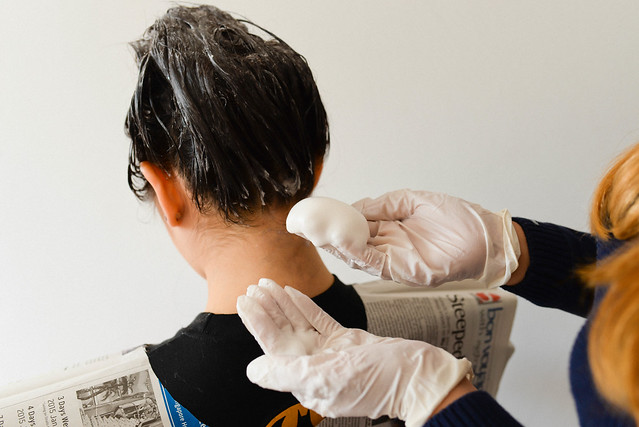
Make sure you get everything, or you’ll have patches of lighter and darker hair, and not in an accidental highlights kinda way. The great thing about bubble/foam dye is, it’s very easy to lather and get in your hair, like shampoo. Some box dyes come with thick liquid and a little comb, which I’ve never tried before, but I imagine it isn’t as easy to really work into the scalp.
I also recommend running your fingers through the hair to really work out the tangles and make sure dye is applied evenly – tangles tend to clump and hide hair inside, and results in patchy hair dye. Don’t forget to work the wispy little sideburns and your hairline too. The bottle really produces a ridiculous amount of foam, like one of those Harry Potter tents that looks tiny on the outside and has three bedrooms and a kitchen when you walk in. Not a good enough excuse to talk about Harry Potter? Okay.
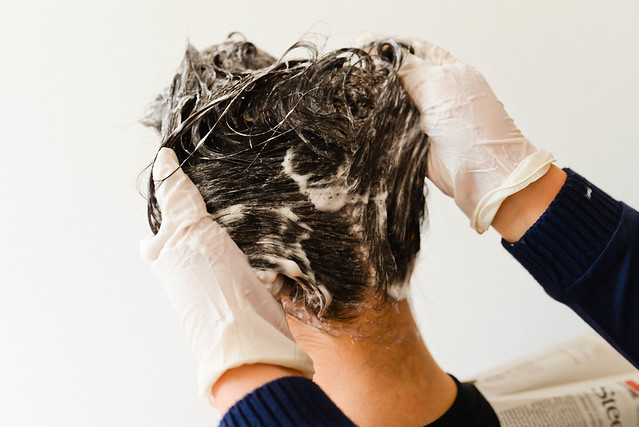
Remember to use as much of the foam as possible – because the creamier and thicker the foam, the more intense your final hair color. So don’t leave anything in the bottle!
Because there’s so much foam, you can actually make all sorts of weird hair sculptures while dying the hair.
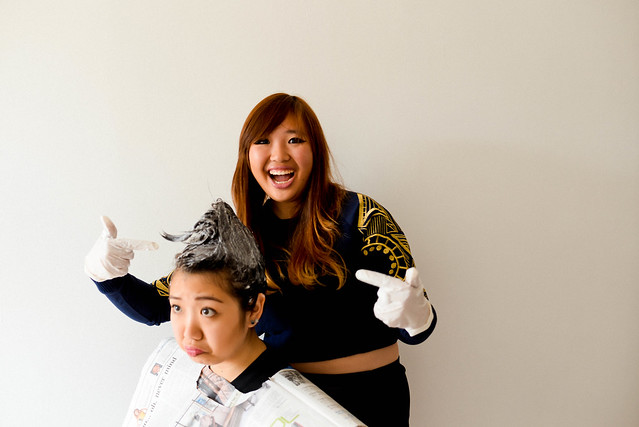
This is the triangle.
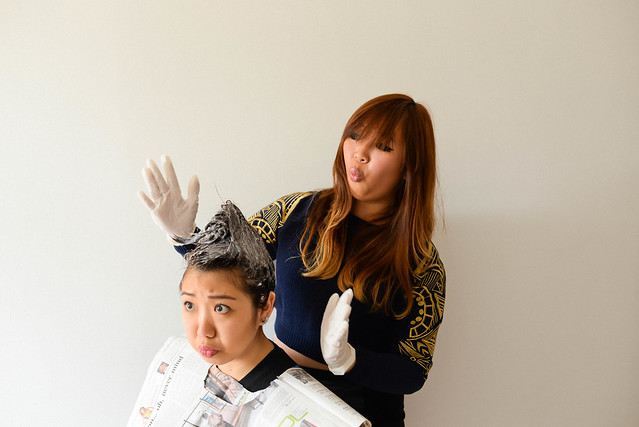
This is the porcupine.
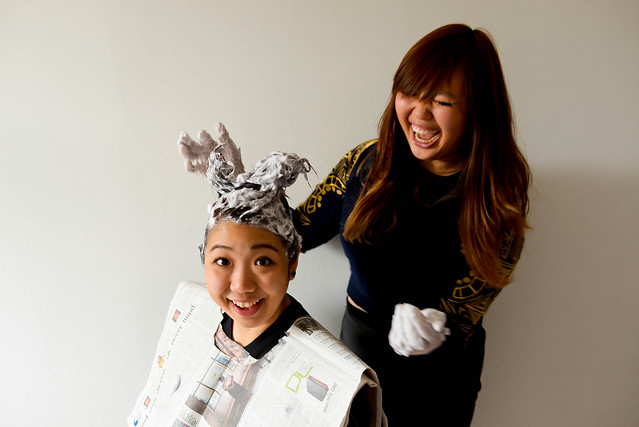
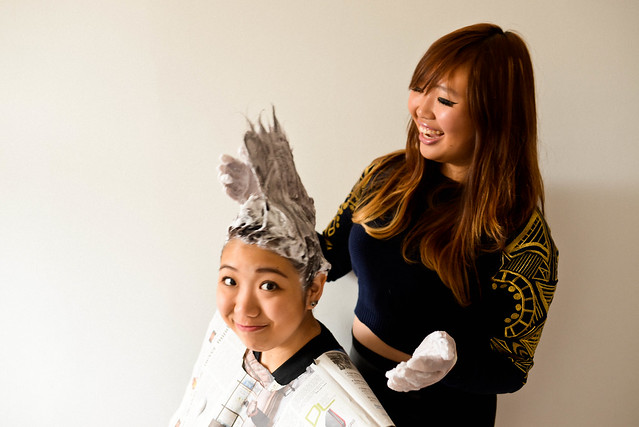
This is the funny bunny.
And this is the world’s easiest chignon.
4. Leave it to soak in.
This bubble dye was created to be fast, so you only have to leave it on for 20-30 minutes. As a general guide, the thicker your individual hair strands are, the longer you leave it on. The color effect remains the same no matter how long you leave it on after the 30 minutes mark though, so do your hair a favour and keep to the recommended time!
BONUS TIP: In thirty minutes, you can:
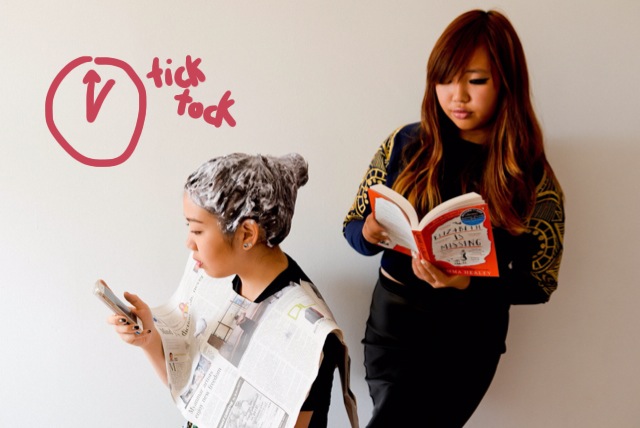
Read a book/ catch up on IG.
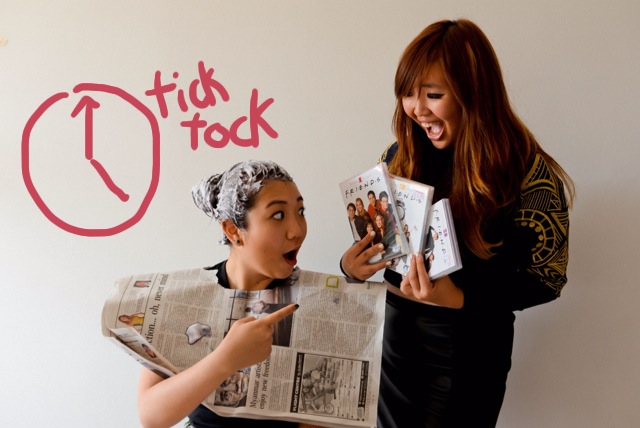
Watch 1 x episode of FRIENDS.
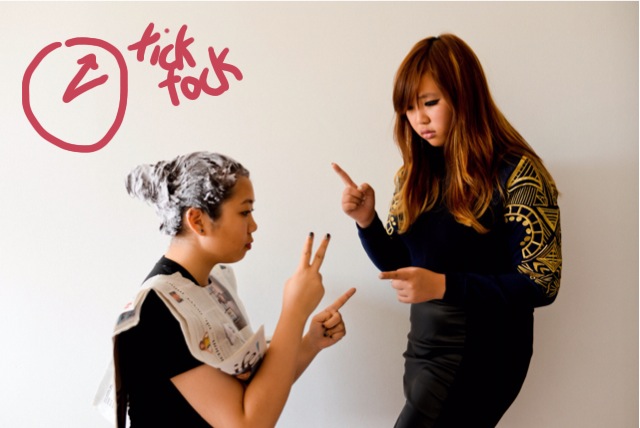
Or play silly finger games.
Either way, time will pass faster than you know. And before you realise it, it’s time to..
5. Wash it off
After half an hour, wash off the dye and apply some treatment to it.
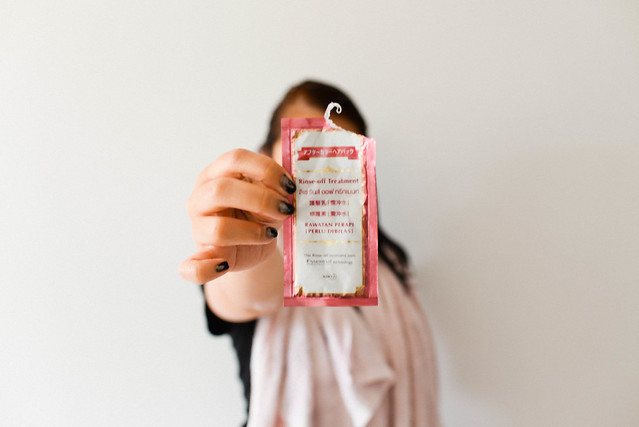
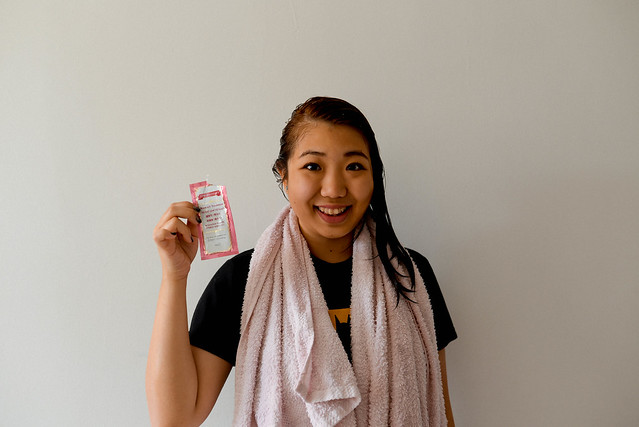
The Liese bubble box dye comes with it’s own packet of rinse-off treatment, but it’s obviously for one-time use only. After dying your hair, keeping it sleek and healthy is very important, nobody cares for a beautifully dyed frizzy poodle.
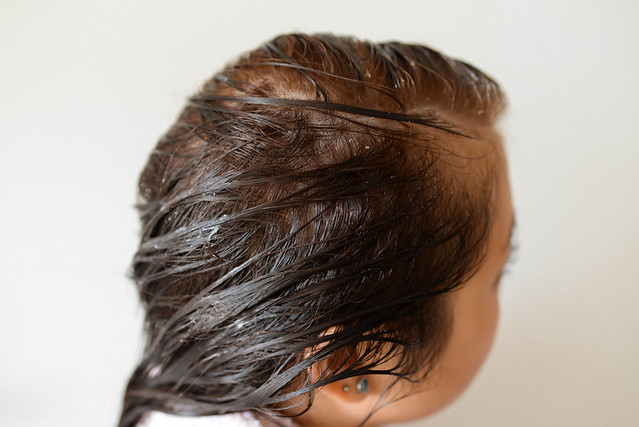
You can kind of see her color coming out even with the wet hair already! Excites.
6. Blow dry and style.
Now that your hair is all colored and clean, it’s time to blow dry it for the final result! Wet hair is always darker, so you can only really see the full effects of your dye job after you’ve dried it out.
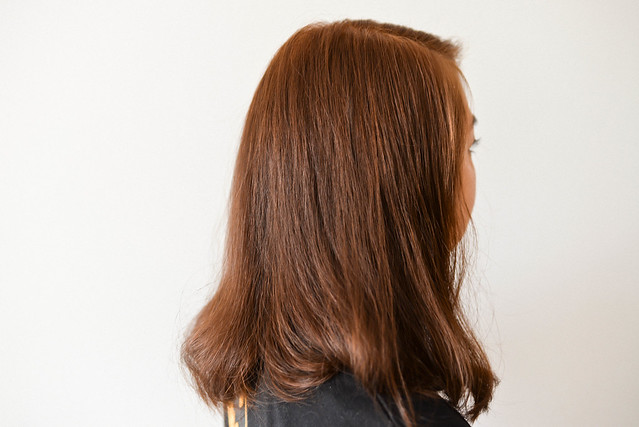
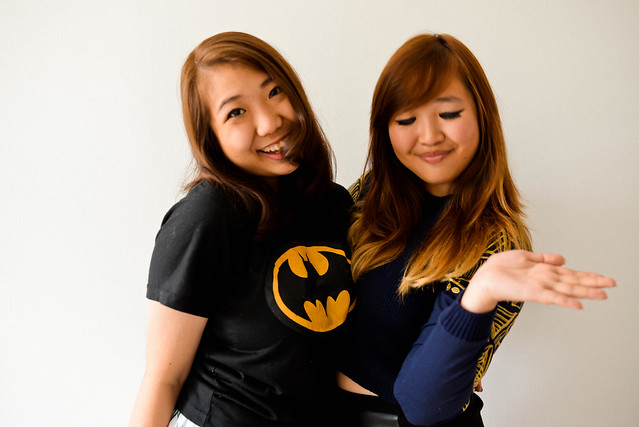
Presenting the Platinum Beige hair dye:
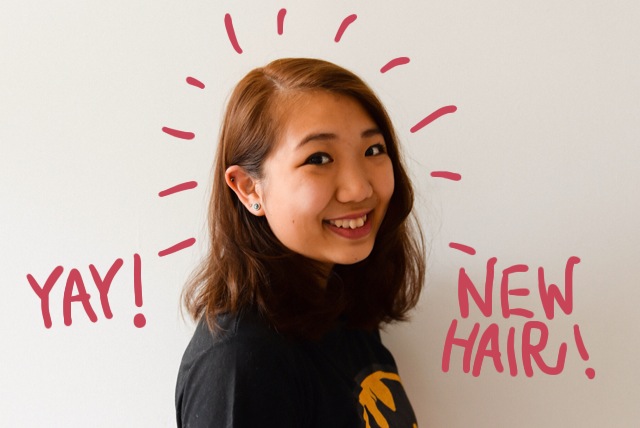
Styled by yours truly with a Bosch 2-in-1 hair curler and straightener
TADA!
How gorgeous is this?! It even shimmers in the sunlight because it’s so fine and sparkly. The photos are not edited for color at all, just clarity – and you can really see how light it is, which is so rare in a box dye! The one thing I hate is coming down from three hours on a hard chair and wrapped hair to someone looking my head over and saying that it looks exactly the same. Not so! The difference in Keziah’s hair is palpable:
Before:
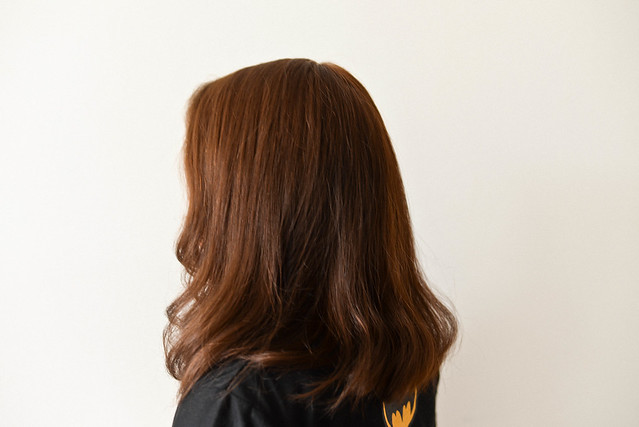
After:
Right?! I love it so much and so does she. The color is so even, evident, and pretty. I have to admit, I didn’t expect to be able to get such a light color without bleaching, but there you go. It looks almost as light as my bleached ‘do – this is apparently due to the richness of the foam, which causes the color to stick 4 x better than normal hair dye. Remember guys: the key is Creaminess. We’ve received so many compliments on it so far, and I am very gratified to know that a career in DIY FAB HAIR DYING awaits me should all my other endeavors prove unviable.
And there you have it – fab hair on the go. The coveted trinity of color, curls, and shine. If you’re thinking of trying out the Liese Bubble dye after this, leave me a comment to let me know how it goes!
Liese is currently giving out ten gift hampers for your own DIY crowning glory this CNY season, so hop over to their FB page here for more deets. If you want to have some fun with Liese and win some prizes, they’ll be in Orchard Somerset these two weekends from 12-4pm, so see you there!
Thank you for sending over this refreshing new look, Liese!
X
♥jem
NB: All photos taken on the Nikon D610 with a 35mm prime lens by Keran Wei, editing by me.
You can find Keziah on instagram here.